
Everyone is talking about Auto-GPT - Here is how to install it!
Not long ago, everyone talked about ChatGPT, and now terms like Auto-GPT are already haunting the world. But what is Auto-GPT, and how can you use it? Auto-GPT is an autonomous GPT-4 experiment. The good news is that it is open-source, and everyone can use it.

In this article, we describe what Auto-GPT is and how you can install it on your computer. Be curious! You don’t have to do much. Follow the step-by-step instructions in this article, and you will have Auto-GPT up and running in 5 minutes.

What is Auto-GPT?
It is an experimental open-source project for showcasing the capabilities of GPT-4 language model. AutoGPT, driven by GPT-4, extends LLMs with autonomous goal achievement. We give the model a goal, and AutoGPT tries to reach this goal automatically.
We don’t need any more prompts as we do with ChatGPT. It pushes the boundaries of what is possible with AI. Andrej Karpathy said in a tweet that tools like AutoGPT will be “the next frontiers of prompt engineering”. Whether it’s the next big thing remains to be seen.

Technical requirements
Prerequisites
You will need the following prerequisites:
- Installed Python and Git
- Installed conda and pip
- Access to a bash (macOS, Linux or Windows)
- Code editor of your choice (We use VSCode.)
We tested it on macOS Ventura 13.3.1.

Initial Setup
Enter the following in your terminal:
- Create a conda environment (env):
conda create -n autogpt python=3.10.9-> Answer the question Proceed ([y]/n)? with y. - Activate the conda env:
conda activate autogpt

Installation of Auto-GPT
Now, we install Auto-GPT in three steps.
Step 1 — Clone the repo:
Go to the Auto-GPT repo and click on the green “Code” button. Copy the link to the repo. Then we create a folder where you want to clone the repo, for example, “auto-gpt”. Next, we open the terminal and navigate to the folder “auto-gpt”. Then we clone the repo with the following command:
$ git clone https://github.com/Significant-Gravitas/Auto-GPT.git
The master branch may often be in a broken state, so you can alternatively download the latest stable release. To do this, download this release and unzip the files. Copy the unzipped files into the folder “auto-gpt”.
After cloning or downloading, you should see the new “Auto-GPT” folder. Next, we install the required dependencies.
Step 2 — Install all required dependencies:
First, we navigate to the “Auto-GPT” folder. You can do this with the following command:
$ cd Auto-GPT
Then you can install the required dependencies with the following command (Make sure you are in the conda environment autogpt!):
$ pip install -r requirements.txt
Some dependencies will be installed on your computer. That may take a moment.
Step 3 — Setting up Auto-GPT:
Now we still have to configure Auto-GPT. To do this, show the hidden files (Mac: command + shift + dot). Duplicate the file .env.template and remove the template extension. Open the new .env file in an editor (for example VSCode) and search for the line OPENAI_API_KEY=.
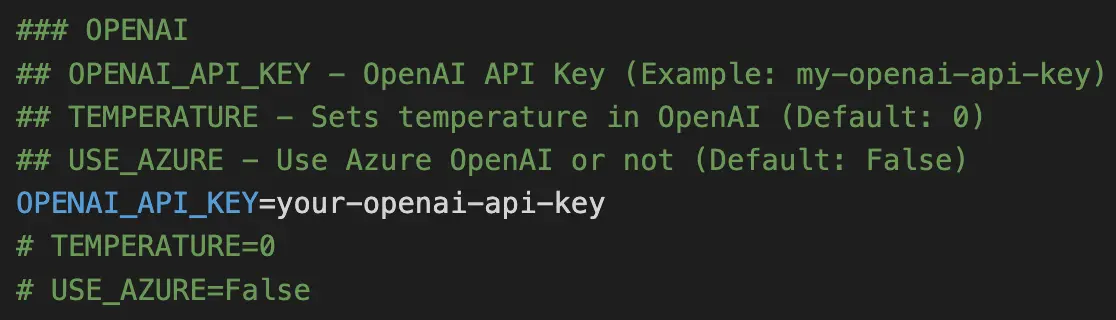
After the “=”, insert your unique OpenAI API key. You can generate the API key in your OpenAI account. Log in to your OpenAI account and create your API key.
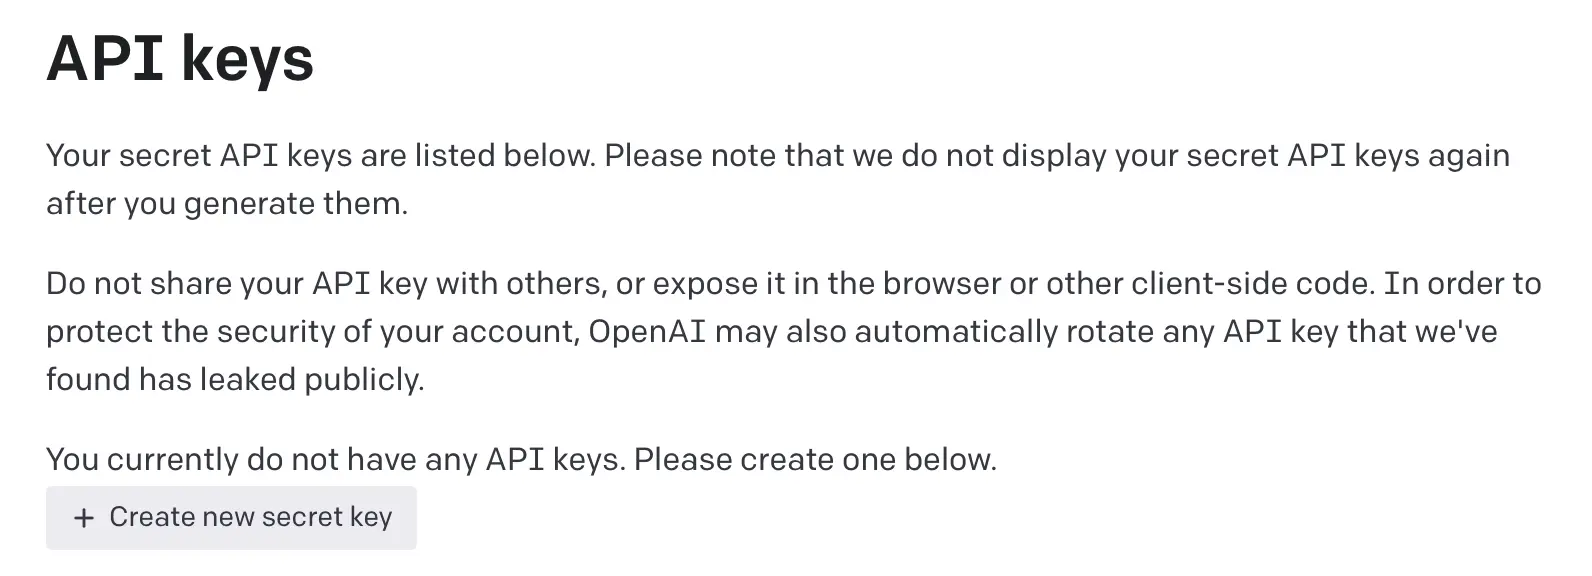
Click on “Create new secret key” and give your key a name. You can then copy your key. Be careful to save the API key, because it will no longer be displayed. After inserting the API key into the .env file, you can save and close it. Great, the installation is ready. Now we can start Auto-GPT.
Start Auto-GPT on your computer
You can start Auto-GPT by entering the following command in your terminal:
$ python -m autogpt
You should see the following output:

You can give your AI a name and a role. Now you can use Auto-GPT. Have fun!
Auto-GPT example:
The example is based on an example from the GitHub repo of Auto-GPT.
- Name your AI: Chef-GPT -> Press Enter
- Describe your AI’s role: an AI designed to browse the web to discover the next upcoming event and invent a unique and original recipe that would suit it -> Press Enter
- Enter up to 5 goals for your AI:
- Goal 1: Invent an original and out-of-the-box recipe to suit a current event. -> Press Enter
- Goal 2: Save the resulting recipe to file. -> Press Enter
- Goal 3: Shutdown upon achieving your goal. -> Press Enter
- Goal 4: Leave it blank and press Enter.
As a result, you should have made the following entries:
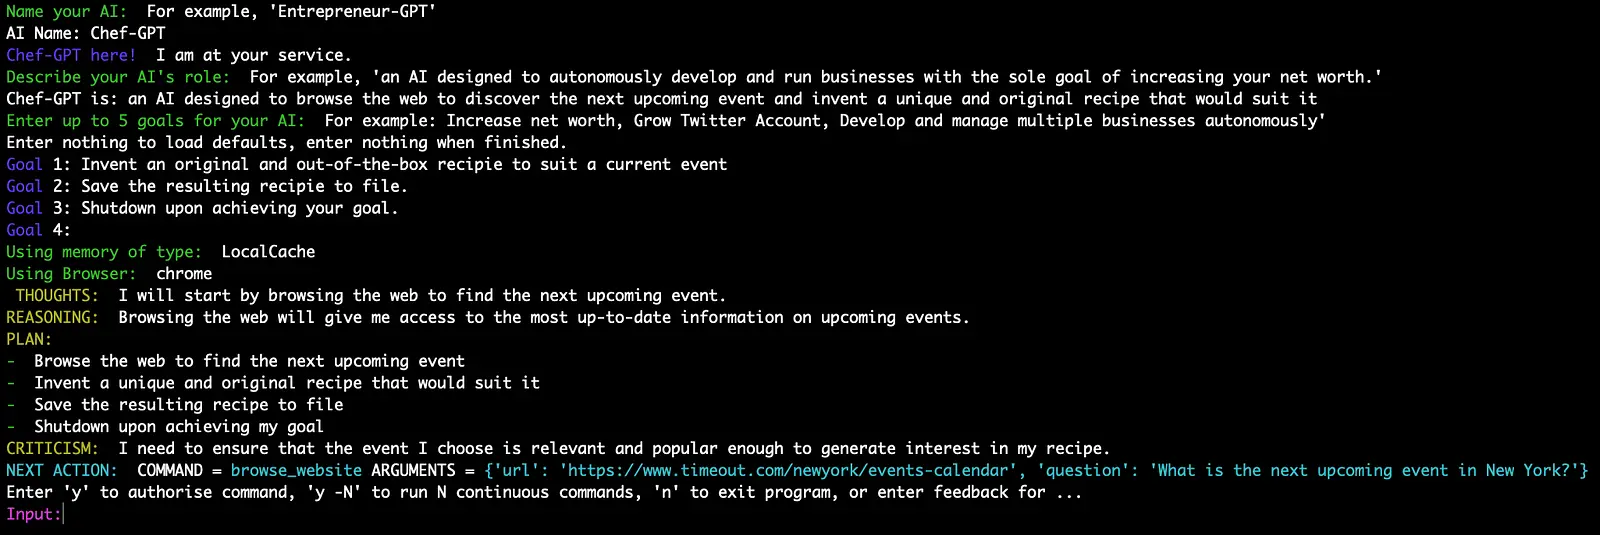
You can then execute the individual commands by confirming with y. When Auto-GPT is finished, it ends itself. In our tests we got the following result (The result may be different for you.):
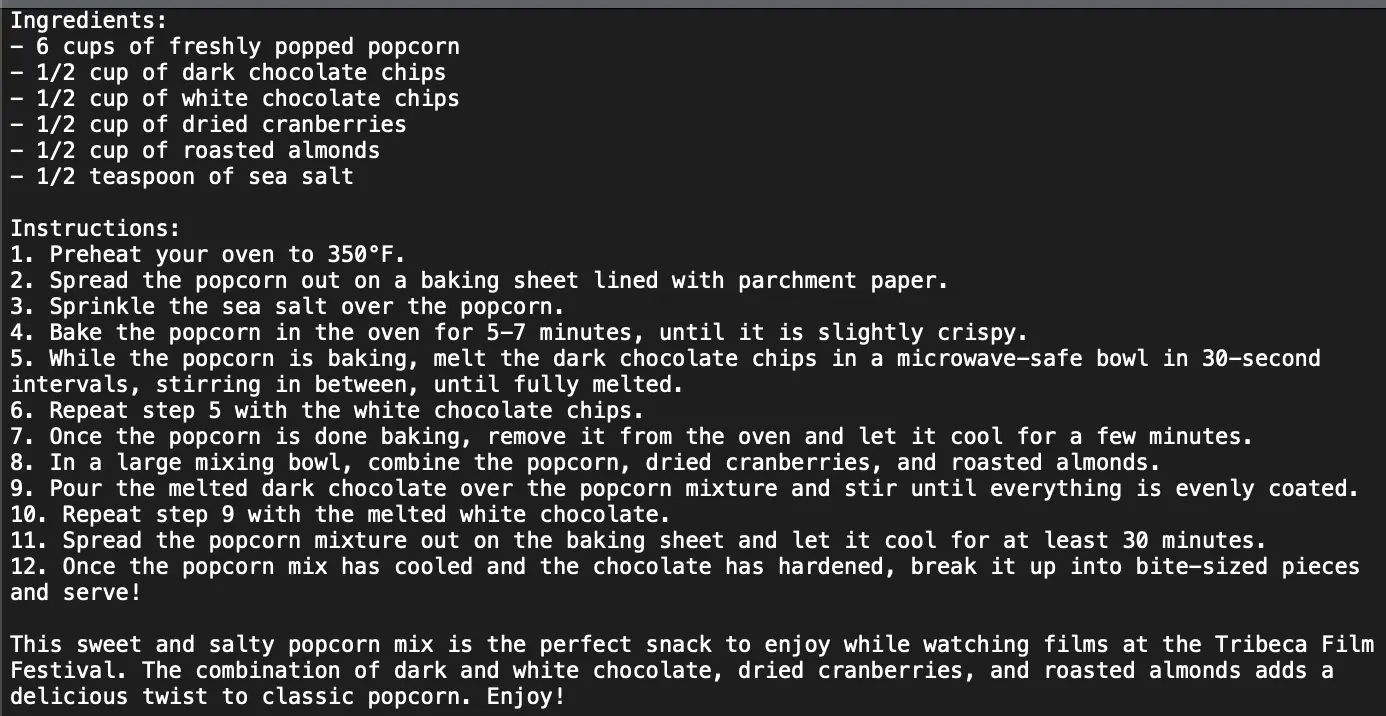
Now you can try the recipe. Enjoy!
Limitations
However, there are also some limitations of the programme:
- Not a polished application or product, just an experiment.
- Possibly poor results in complex and real business scenarios.
- It’s expensive to run, so set and monitor your API key limits with OpenAI!
So have fun with Auto-GPT!
Conclusion
In this article, you have learned how to set up Auto-GPT in 5 minutes. Then we showed the functionality of Auto-GPT with an example so that you can better understand how it works. Note that you only have a certain number of free credits for the OpenAI API. Pay attention to your consumption, which you can see on the dashboard!
Thanks so much for reading. Have a great day!