**Local Multi-Agent System with Web Access Using Llama 3.1 (Step-by-Step Guide)**
Generated with Grok
AI agents will be integrated into many software solutions over the next few years. They make workflows easier and can be used in flexible ways. AI agents have great potential, especially in the financial sector.
In this tutorial, we show you how to build a local AI Finance Agent Team using Llama 3.1. The agent team has access to the web and up-to-date financial data.
Let's waste no time and get started!
## Sneak Peak
## Tech Stack
We use the following technologies:
* `Llama 3.1:8b` as LLM model
* [phidata](https://docs.phidata.com/introduction){:target="_blank" rel="noopener"} framework for the UI and Agent functionality
* duckduckgo for web access
* yfinance for access to financial data
## Prerequisites
You will need the following prerequisites:
* Python package manager of your choice like [conda](https://docs.conda.io/en/latest/miniconda.html){:target="_blank" rel="noopener"}.
* A code editor of your choice like [Visual Studio Code](https://code.visualstudio.com/){:target="_blank" rel="noopener"}.
* Download [Ollama](https://ollama.com){:target="_blank" rel="noopener"} and install [Llama3.1:8b](https://ollama.com/library/llama3.1:8b){:target="_blank" rel="noopener"}. Ensure it runs on your computer.
## Step-by-Step Guide
### Step 1: Setup the development environment
* **Create a conda environment**: It makes sense to create a virtual environment to keep your main system clean.
```bash
conda create -n finance-agent-team python=3.12.7
conda activate finance-agent-team
```
* **Clone the GitHub repo**:
```bash
git clone https://github.com/tinztwins/finllm-apps.git
```
* **Install requirements**: Go to the folder `finance-agent-team` and execute the following command:
```bash
pip install -r requirements.txt
```
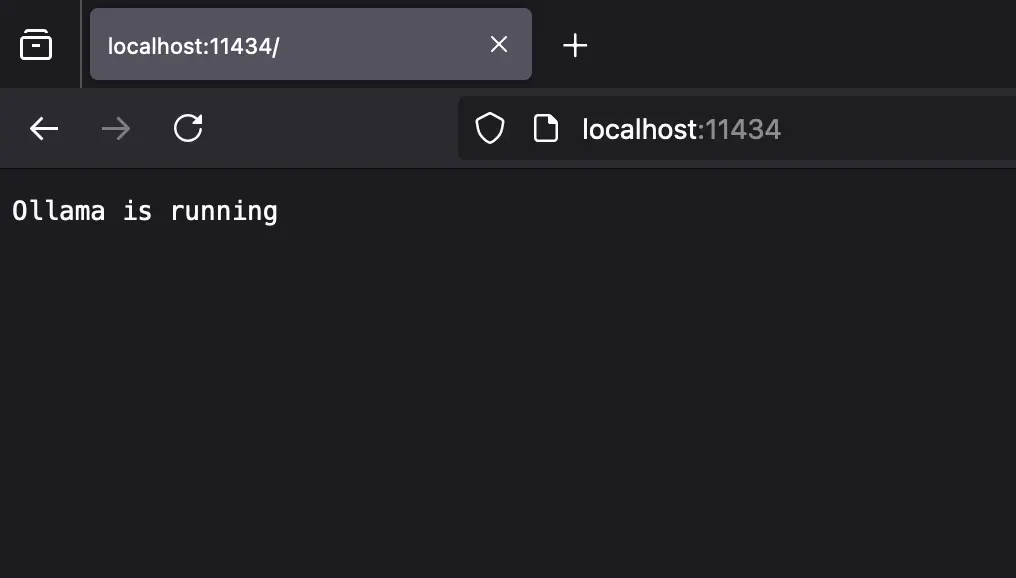
* Make sure that Ollama is running on your system:
### Step 2: Create the App with phidata
First, we create a file with the name `finance_agent_team.py`. This file contains the code of the AI Finance Agent Team.
* **Import required libraries**:
```python
from phi.agent import Agent
from phi.tools.yfinance import YFinanceTools
from phi.tools.duckduckgo import DuckDuckGo
from phi.playground import Playground, serve_playground_app
from phi.storage.agent.sqlite import SqlAgentStorage
from phi.model.ollama import Ollama
```
* **Create the Web Agent**: The `Agent(...)` class provides a simple interface to create powerful agents. In the Python Code below, you can see an agent with web access. You can pass some parameters to the `Agent(...)` class to configure the agent individually. The `role` parameter assigns a role to the agent within the team. The agent's LLM model is assigned via the `model` parameter. You can control the agent's properties using the `tools` and `instructions` parameters. We use `DuckDuckGo()` for the web access. In addition, you can assign a storage to the agent via the `storage` parameter.
```python
web_agent = Agent(
name="Web Agent",
role="Search the web for information",
model=Ollama(id="llama3.1:8b"),
tools=[DuckDuckGo()],
instructions=["Always include sources"],
storage=SqlAgentStorage(table_name="web_agent", db_file="agents.db"),
)
```
* **Create the Finance Agent**: We create the Finance Agent in the same way as the Web Agent. For access to real-time financial data, we use `yfinance`. For example, the agent has access to analyst recommendations and company information.
```python
finance_agent = Agent(
name="Finance Agent",
role="Get financial data",
model=Ollama(id="llama3.1:8b"),
tools=[YFinanceTools(stock_price=True, analyst_recommendations=True, company_info=True)],
instructions=["Use tables to display data"],
storage=SqlAgentStorage(table_name="finance_agent", db_file="agents.db"),
)
```
* **Create the Agent Team**: Finally, we can bundle the two agents by creating an agent team.
```python
agent_team = Agent(
team=[web_agent, finance_agent],
model=Ollama(id="llama3.1:8b"),
name= "Agent Team: Web Agent + Finance Agent",
instructions=["Always include sources", "Use tables to display data"],
)
```
* **Create a phidata Playground**: We use the Agent UI from phidata to test the agent team. To do this, we need to create a playground and add our agent team to it.
```python
app = Playground(agents=[agent_team]).get_app()
if __name__ == "__main__":
serve_playground_app("finance_agent_team:app", reload=True)
```
### Step 3: Run the App
* **Authenticate with phidata**: Navigate to [phidata.app](phidata.app) and log in to your account.
* **Export the phidata API Key**: You can find your phidata API key in your account. To export this key for your workspace, use the following command: `export PHI_API_KEY=phi-***`
* **Start the App**: Navigate to the project folder and run the following command:
```bash
python finance_agent_team.py
```
* **Access the Agent UI**: Open the [Playground](https://www.phidata.app/playground/chat){:target="_blank" rel="noopener"} in your browser, and connect the `localhost:7777` endpoint. Now, you are ready to start chatting!
## Conclusion
AI agents will fundamentally change software development in the coming years. They are flexible and can solve complex tasks. Using AI agents in a team with frameworks like phidata lets you create powerful applications that can tackle complex use cases.
In this tutorial, we wanted to show you the potential of such applications. You are welcome to use this project as a starting point for your own projects. Feel free to share it with friends.
Happy coding!
💡 Do you enjoy our content and want to read super-detailed guides about AI Engineering? If so, be sure to check out our premium offer!