**An AgentOS opens up completely new possibilities for companies to make processes more intelligent and scalable. It allows multiple specialized agents to work together in a coordinated way to automate complex tasks reliably and securely.**
Generated with AI
The AgentOS from [Agno](https://docs.agno.com/introduction){:target="_blank" rel="noopener"} is a production-ready runtime that you can run entirely within your own infrastructure. This gives you complete control over your agent system.
Agno also provides a user-friendly web interface (control plane) for managing, monitoring, and interacting with your AgentOS.
In addition, Agno's AgentOS is simply a [FastAPI app](/software-engineering/say-goodbye-to-slow-apis-with-fastapi/) that you can run locally or in your cloud. That's really cool, because most Python developers are familiar with it.
In this step-by-step guide, we show you how to set up an AgentOS with Agno. The best part is that no data is stored outside your environment, ensuring complete privacy.
Let's get started!
## Sneak Peak
## Tech Stack
In this guide, we use the following technologies:
* OpenAI's `gpt-oss:20b` as LLM. It is an open-weight model designed for powerful reasoning and agentic tasks.
* [Agno](https://docs.agno.com/introduction){:target="_blank" rel="noopener"} to create the AgentOS
## Prerequisites
You will need the following prerequisites:
* Python package manager of your choice (We use [conda](https://docs.conda.io/en/latest/miniconda.html){:target="_blank" rel="noopener"}).
* A code editor of your choice (We use [Visual Studio Code](https://code.visualstudio.com/){:target="_blank" rel="noopener"}).
* Download [Ollama](https://ollama.com){:target="_blank" rel="noopener"} and install `gpt-oss`. Make sure that it runs on your computer. You can download the large language model using `ollama run gpt-oss`.
* A computer with a GPU (We use a MacBook Pro M4 Max 48 GB).
*We recommend a computer with at least 16GB RAM to run the AgentOS efficiently.*
## Step-by-Step Guide
### Step 1: Set up the development environment
* **Create a conda environment**: We recommend creating a virtual environment, as this helps keep your main system clean.
```bash
conda create -n agent-os python=3.12.7
conda activate agent-os
```
* **Clone the GitHub repo**:
```bash
git clone https://github.com/tinztwins/finllm-apps.git
```
* **Install requirements**: Go to the folder `agno-agent-os` and run the following command:
```bash
pip install -r requirements.txt
```
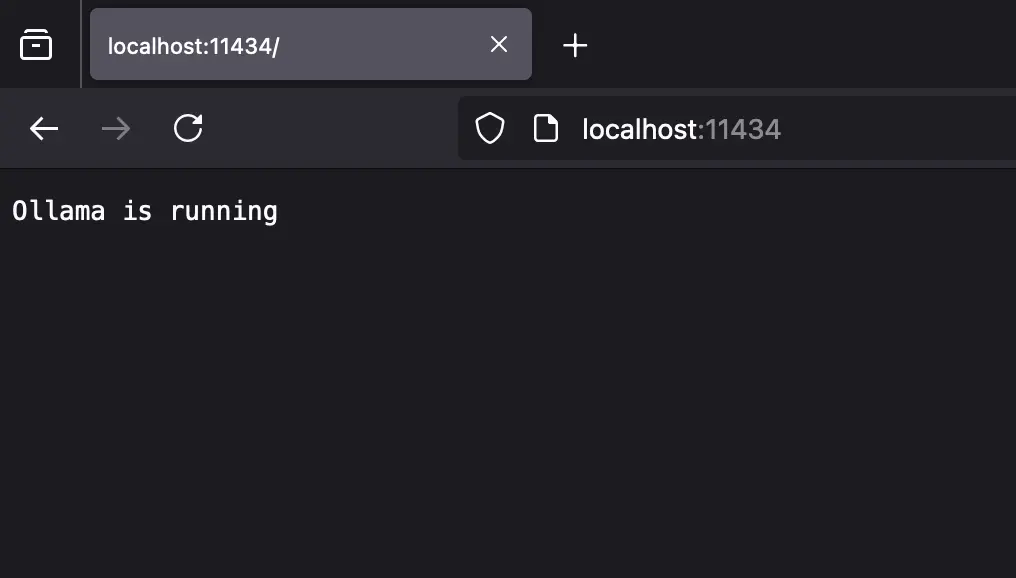
* Make sure that **Ollama** is running on your computer:
### Step 2: Create Your AgentOS with Agno
In this step-by-step guide, we show you the minimal setup for an AgentOS with Agno. Consider it a starting point for your own project. We explain each step in detail so you can easily adapt it to your needs.
* **Import required libraries**: First, we need to import all necessary libraries for our AgentOS.
```python
from agno.agent import Agent
from agno.models.ollama import Ollama
from agno.tools.yfinance import YFinanceTools
from agno.os import AgentOS
```
* **Create an Agent**: In Agno, you can create an Agent with `Agent()`. You can pass several parameters to this object., e.g., `id`, `model`, `tools`, `description`, and `instructions`.
```python
# Create an Agent
investment_agent = Agent(
id="investment-agent",
model=Ollama(id="gpt-oss:latest"),
tools=[
YFinanceTools(),
],
description="You are an investment analyst that researches stock prices, company infos, stock fundamentals, analyst recommendations and historical prices",
instructions=["Format your response using markdown and use tables to display data where possible."],
markdown=True
)
```
* **Add tools to the Agent**: To allow the Agent to access financial data, we use `YFinanceTools`. That gives the Agent access to stock price data, company information, fundamental data, analyst recommendations, and historical price information.
* **Description and instructions**: Using the `instructions` parameter, you can give the Agent a list of instructions. The `description` is added at the start of the system message. You can control the Agent's behavior using these parameters.
* **Add the Agent to the AgentOS**: To add the agent to AgentOS, we pass it in a list via the `agents` parameter. If you want to add more agents, you can easily do so through the list. The Python code looks as follows:
```python
agent_os = AgentOS(
id="agent-os",
description="AgentOS",
agents=[investment_agent],
)
```
* **Serve the AgentOS**: The following Python code shows how to serve AgentOS.
```python
app = agent_os.get_app()
if __name__ == "__main__":
agent_os.serve(app="agent_os:app", reload=True)
```
### Step 3: Run the AgentOS
You can start AgentOS with the following command:
```bash
python agent_os.py
```
Then, the AgentOS is running at `http://localhost:7777`. We will use this URL to connect the AgentOS to the control plane. In addition, you can access an interactive API documentation.
If you enter `http://localhost:7777/docs` in your browser, the interactive API documentation opens.
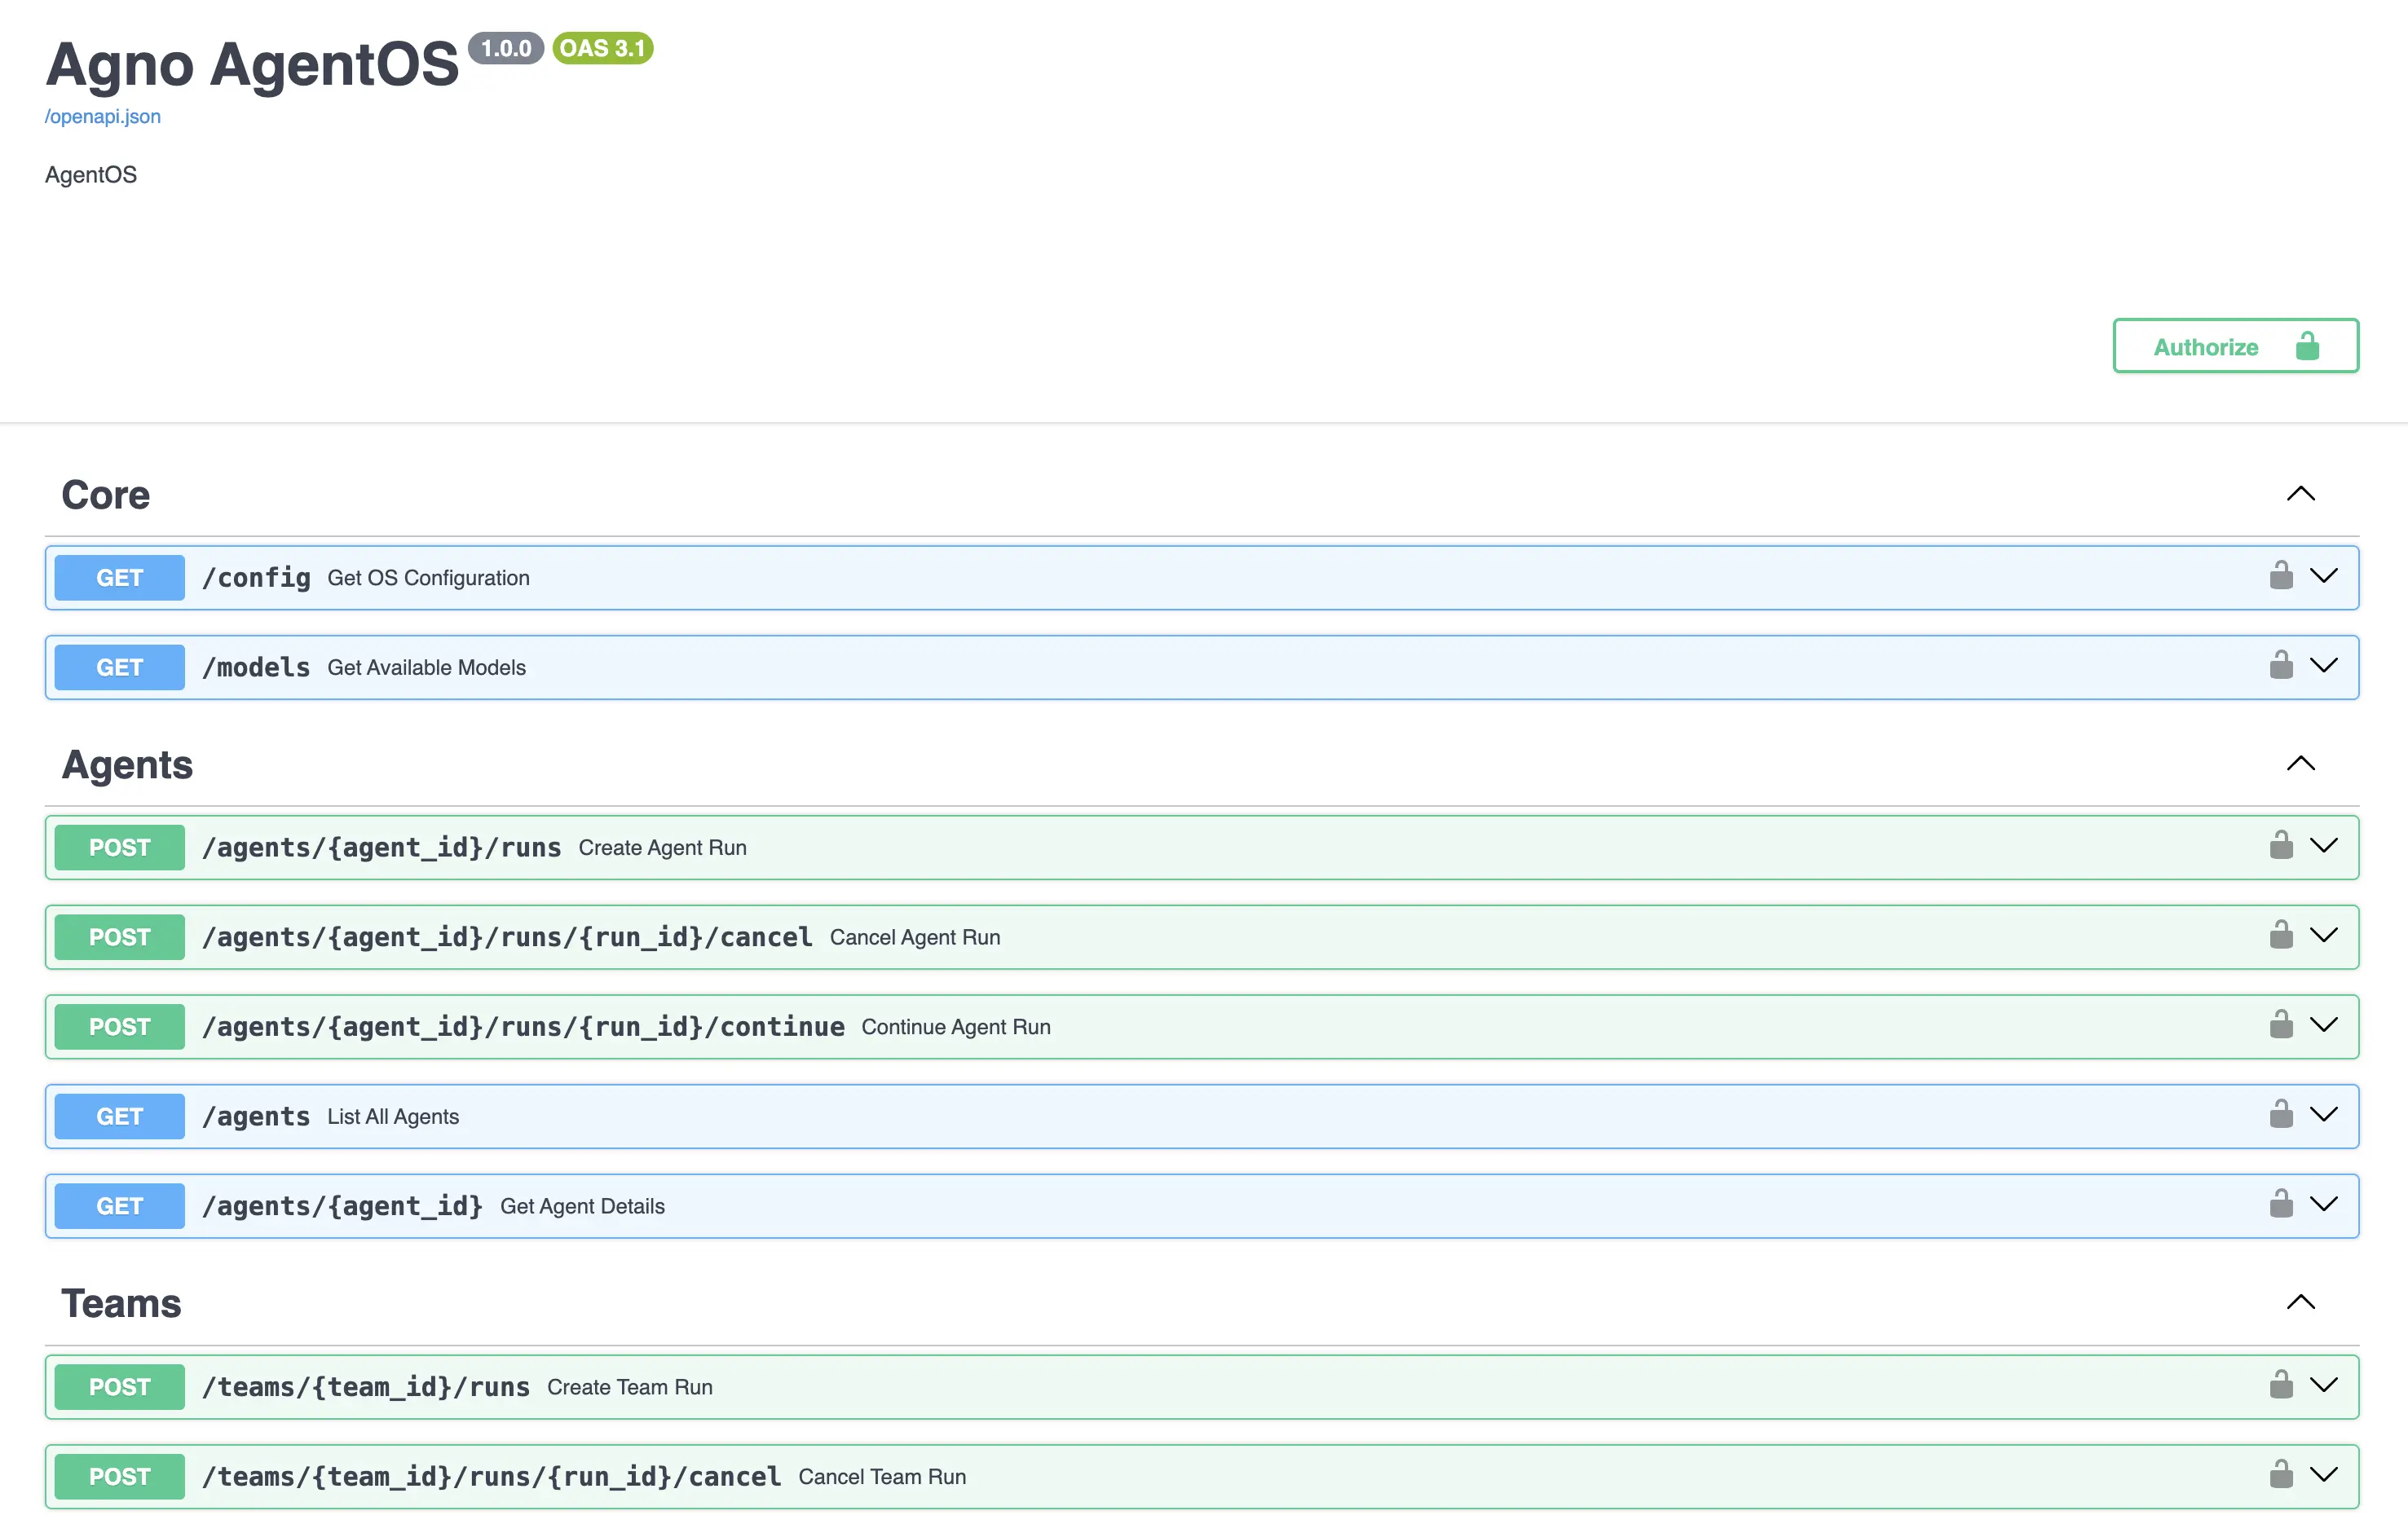
The configuration of the AgentOS is at `http://localhost:7777/config`.
### Step 4: Connect to the Control Plane
Agno provides a web interface (control plane) for interacting with your agents, monitoring performance, and more. First, you need to create an Agno account at [os.agno.com](https://os.agno.com/){:target="_blank" rel="noopener"}.
We recommend using the Chrome browser. Then everything should work smoothly.
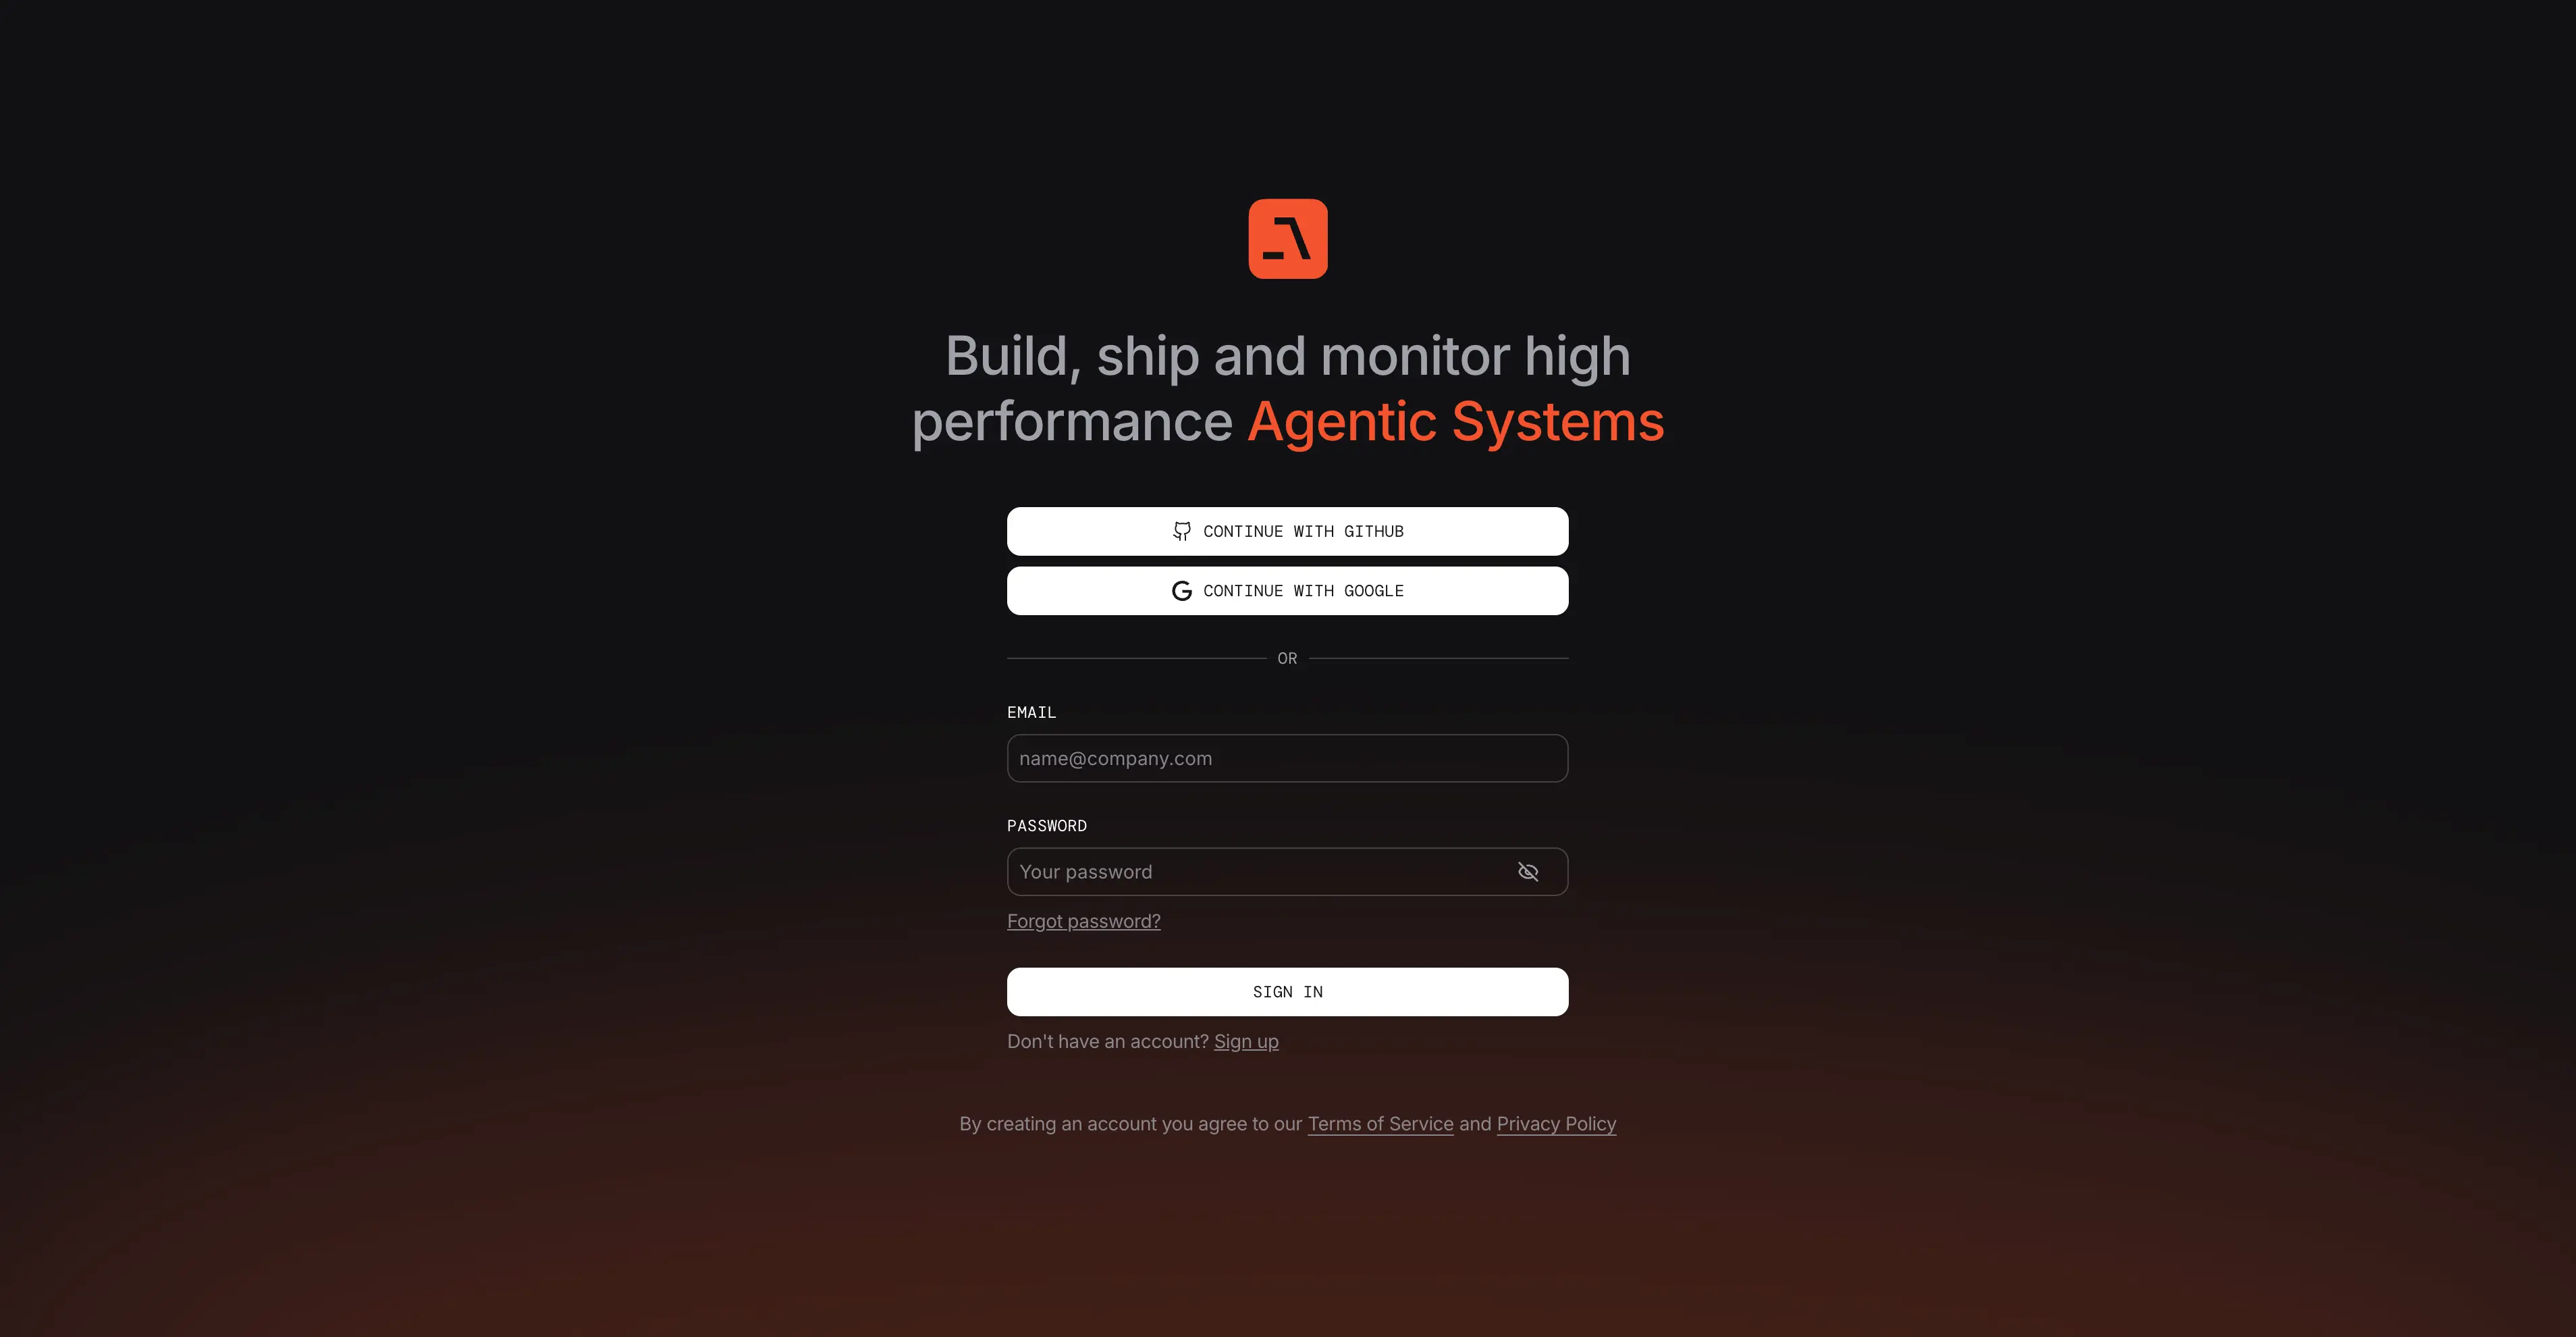
Once you are logged in, you can connect AgentOS to the Control Plane. The following video shows you how to do this.
Awesome. You've successfully set up a local, production-ready AgentOS using Agno.
## Conclusion
In this guide, you learned how to create a custom agent with financial tools, serve it via a FastAPI application, and connect it to the Agno control plane for easy management.
This setup provides you with a powerful, private, and scalable foundation for building complex multi-agent systems. You can now expand this by adding more specialized agents and custom tools. The possibilities are endless.
Happy coding!
💡 Do you enjoy our content and want to read super-detailed guides about AI Engineering? If so, be sure to check out our premium offer!