Be the master of your code
GitLab is an open-source software development platform with built-in version control, issue tracking and DevOps capabilities. You have probably used the online version of Gitlab for your code management. However, there are also several ways to host GitLab on your server.

In this post, we will show you how to get GitLab running on your server using Docker. In this context, we will first set up GitLab and finally, show how we can create GitLab runners. The best thing is that it’s easy. Thanks to Docker. The steps are the following:
- Technical requirements
- Setup GitLab server with Docker
- Setup GitLab runners with Docker
- Conclusion
- Useful links
Technical requirements
You will need the following prerequisites:
Software:
- The latest version of Docker must be installed on your machine / server. If you do not have it installed yet, please follow the instructions.
- The latest version of Docker Compose must be installed on your machine / server. Please follow the instructions.
- Access to a bash (macOS, Linux or Windows).
Hardware:
- macOS, Linux or Windows (In this post we show the procedure on macOS)
- Recommended: Intel Core i5 (x86_64) or higher
- Recommended: 16 GB RAM
- Recommended: 500 GB SSD
That’s all! 😉😉
Setup GitLab server with Docker
In this post, we set up the community version of GitLab (GitLab CE). Below you can see the Docker Compose file. Create a new Docker Compose file and insert the following code.
version: '3.7'
services:
  gitlab:
    image: 'gitlab/gitlab-ce:latest'
    container_name: gitlab
    restart: always
    ports:
      - '5050:5050'
      - '80:80'
      - '443:443'
      - '22:22'
    volumes:
      - './config:/etc/gitlab'
      - './logs:/var/log/gitlab'
      - './data:/var/opt/gitlab'
    shm_size: '256m'
First, we define the version of the Docker Compose file. Then we define the GitLab service. We use the Gitlab image from DockerHub.
Note: This image is officially only available for the linux/amd64 aka Intel 64-bit platform. Not for Apple Silicon.
Maybe someone can build a multi-architecture image. We use the latest version of the image. Then we define the container name and that the container should always restart.
After that, we set some ports. Port 5050 is for the GitLab Container registry. More later. Port 80 is for the GitLab server Web UI. If you want to enable HTTPS, you can use port 443. You can still store certificates so that an HTTPS connection is possible. We will not discuss this in this post. Port 22 is for ssh connections. For persistent storage, we use some volumes. Furthermore, we set the shared memory directory to 256 MB, because GitLab recommends it.
You can start your GitLab server by entering the following command in the terminal:
$ docker compose up -d
The flag -d means that the container is running as a daemon. In this mode, the terminal does not output any logs. You can see the logs for a specific container with the following command:
$ docker compose logs --follow gitlab
The logs show the state of the container. If everything is ok, you can use your GitLab Server for the first time. It can take up to 5 minutes until the server is up. No panic!
Check if you see a config folder in the folder of your Docker Compose file. Open the file gitlab.rb with an editor of your choice and change the following lines to:
external_url 'http://gitlab.server.de'
registry_external_url 'http://gitlab.server.de:5050'
gitlab_rails['registry_enabled'] = true
registry['enable'] = true
registry['dir'] = "/var/opt/gitlab/registry"
registry['log_directory'] = "/var/log/gitlab/registry"
registry['log_level'] = "info"
We need to make a few changes in the configuration file gitlab.rb to enable certain functions. First, we set a DNS name. Later you can reach your GitLab at this URL (http://gitlab.server.de). Then, we set the URL for the container registry (e.g. for docker containers). We activate the registry and specify the logging folders.
After that, you have to reconfigure your GitLab instance. You can do this with the following two commands:
$ docker exec -it gitlab bash
This command brings you into the Docker container. Now you are on your container / GitLab server. Then, type the following in the terminal:
$ sudo gitlab-ctl reconfigure
Now we have to wait until the process is complete. Then we need to set the DNS name of your server on your development machine. Go to your development computer and enter the following command in your terminal.
$ nano /etc/hosts
# Enter the following in the file: <ip-gitlab-server> gitlab.server.de
Now you can reach your GitLab server via the IP address (<ip-gitlab-server>:80) or via gitlab.server.de.
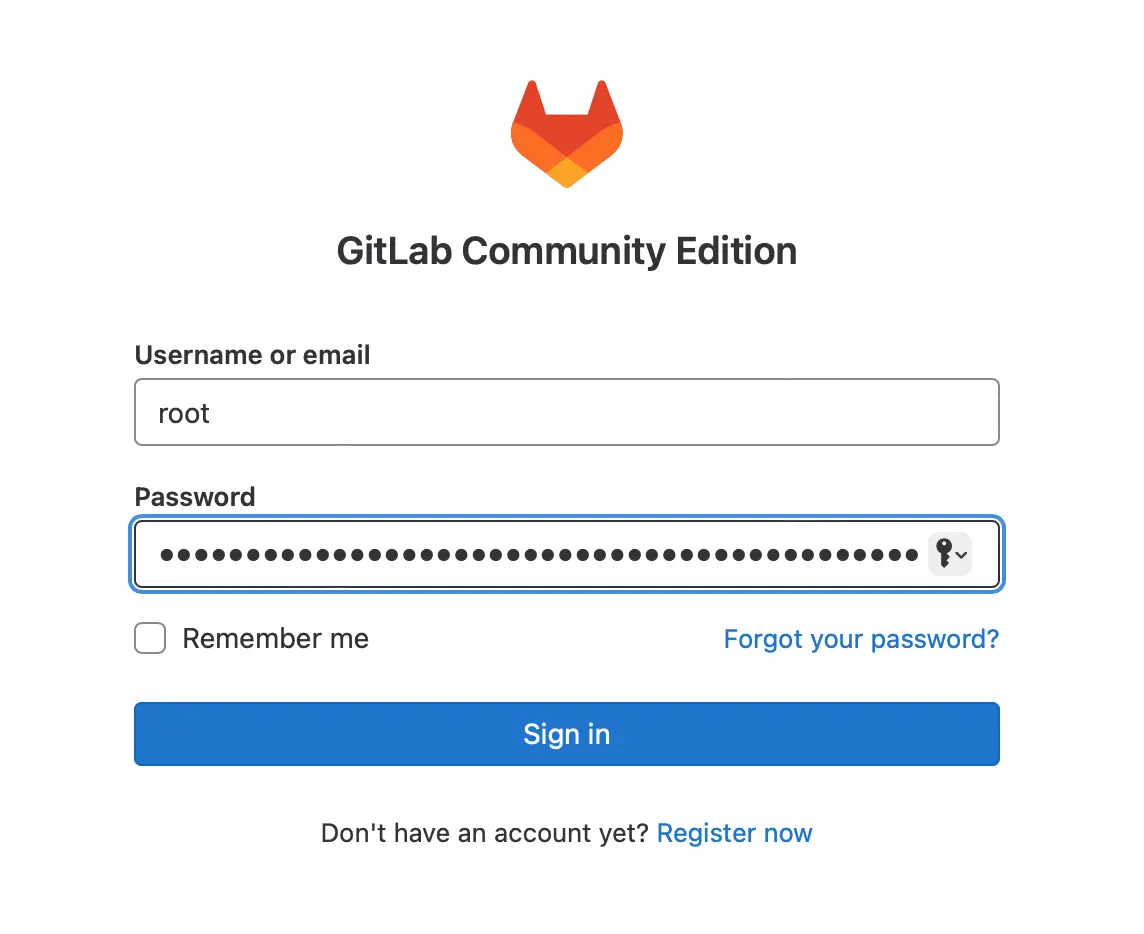
Open a browser of your choice (e.g. Google Chrome) and enter the URL gitlab.server.de. When you see the login page, the installation was successful. Yeah. 👍🏼 👍🏼
Next, we have to log in with the default login data. But where do you find this data? The default username is root and the initial password was generated for you. You will find the initial password in the gitlab container on your server. The initial password is only valid for 24 hours. Go back into the gitlab container by entering the following command:
$ docker exec -it gitlab bash
You can view the initial password in the container with the following command:
$ cat /etc/gitlab/initial_root_password
# Output: <initial-password>, copy it
Then go back to the login page and enter the following.
- Username: root
- Password: <initial-password> that you copied

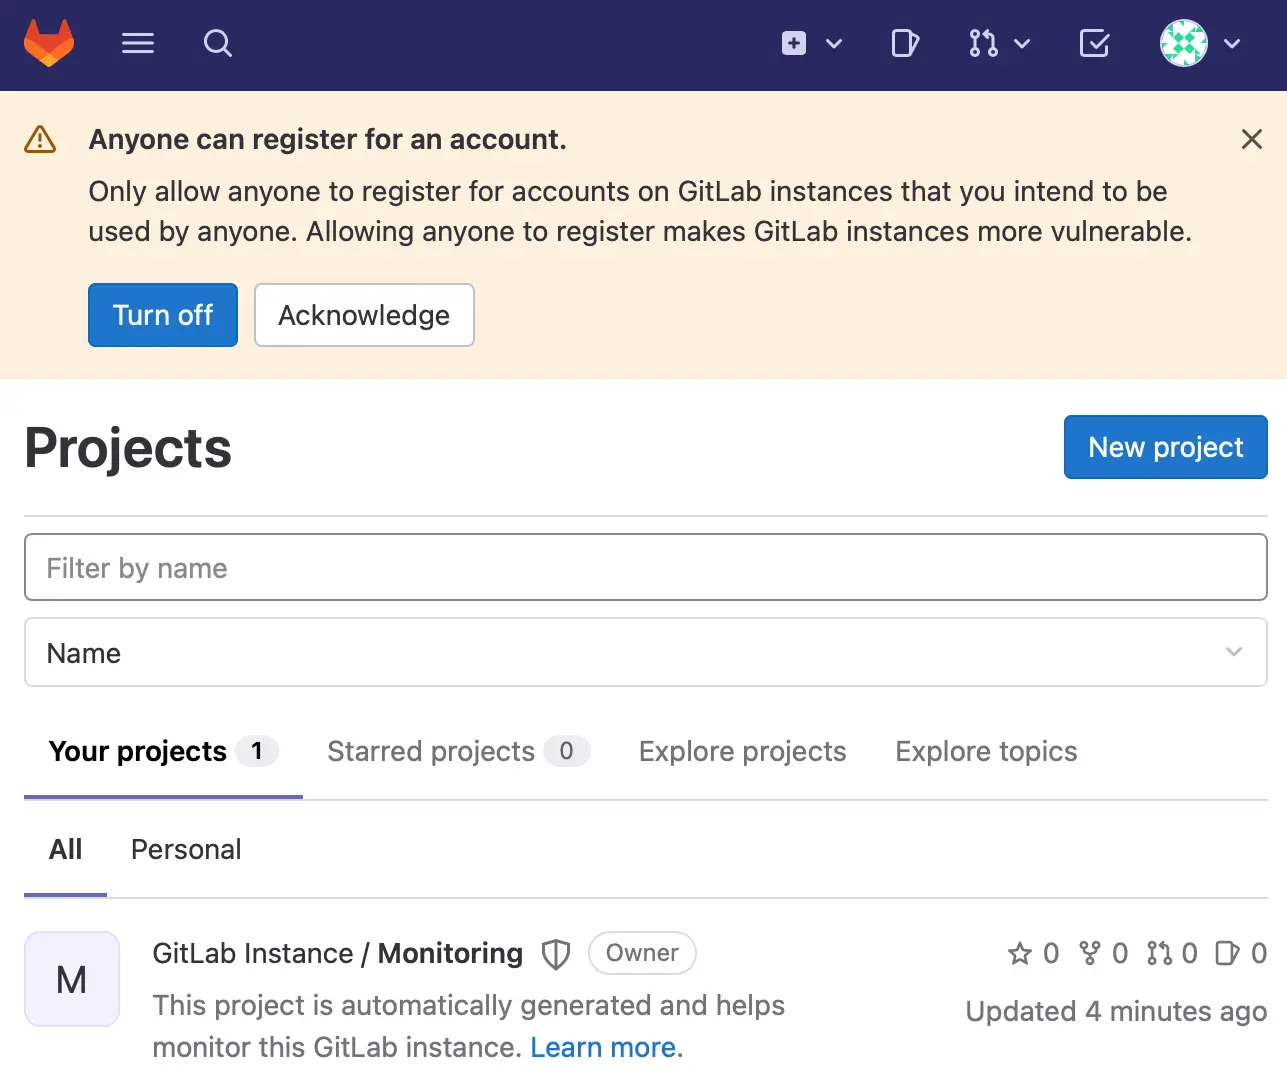
Then click Sign in. If everything is OK, you will see the following page.

Next, you can click on preferences in the top right-hand corner. In the preferences you can configure your GitLab individually.
Setup GitLab runners with Docker
In the previous section, we set up a GitLab server. Now let’s add three GitLab Runners. First, you must create a new Docker Compose file with the following content.
version: '3.7'
services:
  gitlab-runner-0:
    image: gitlab/gitlab-runner:latest
    container_name: runner-0
    restart: always
    volumes:
      - '/Users/Shared/gitlab-runner/config:/etc/gitlab-runner'
      - '/var/run/docker.sock:/var/run/docker.sock'

  gitlab-runner-1:
    image: gitlab/gitlab-runner:latest
    container_name: runner-1
    restart: always
    volumes:
      - '/Users/Shared/gitlab-runner/config:/etc/gitlab-runner'
      - '/var/run/docker.sock:/var/run/docker.sock'

  gitlab-runner-2:
    image: gitlab/gitlab-runner:latest
    container_name: runner-2
    restart: always
    volumes:
      - '/Users/Shared/gitlab-runner/config:/etc/gitlab-runner'
      - '/var/run/docker.sock:/var/run/docker.sock'
Next, go back to your GitLab web interface and click on the hamburger menu (top left corner). Then click on Admin. In the Admin menu go to Overview → Runners → Register an instance runner. Copy the registration token.

Run the following command on your server (!!!Pay attention to the placeholders <placeholder>!!!):
docker exec -it runner-0 gitlab-runner register --url http://gitlab.server.de --registration-token <your-registration-token> --clone-url http://gitlab.server.de
Please follow the instructions on the screen. Confirm with Enter. You will see the following outputs on your screen.

The figure shows a working configuration. However, you can change the configuration according to your needs. It is enough to do this for one container, as all runners read the same config. Now you have three shared runners that can run in parallel. If you need more, add more in the Docker Compose file.
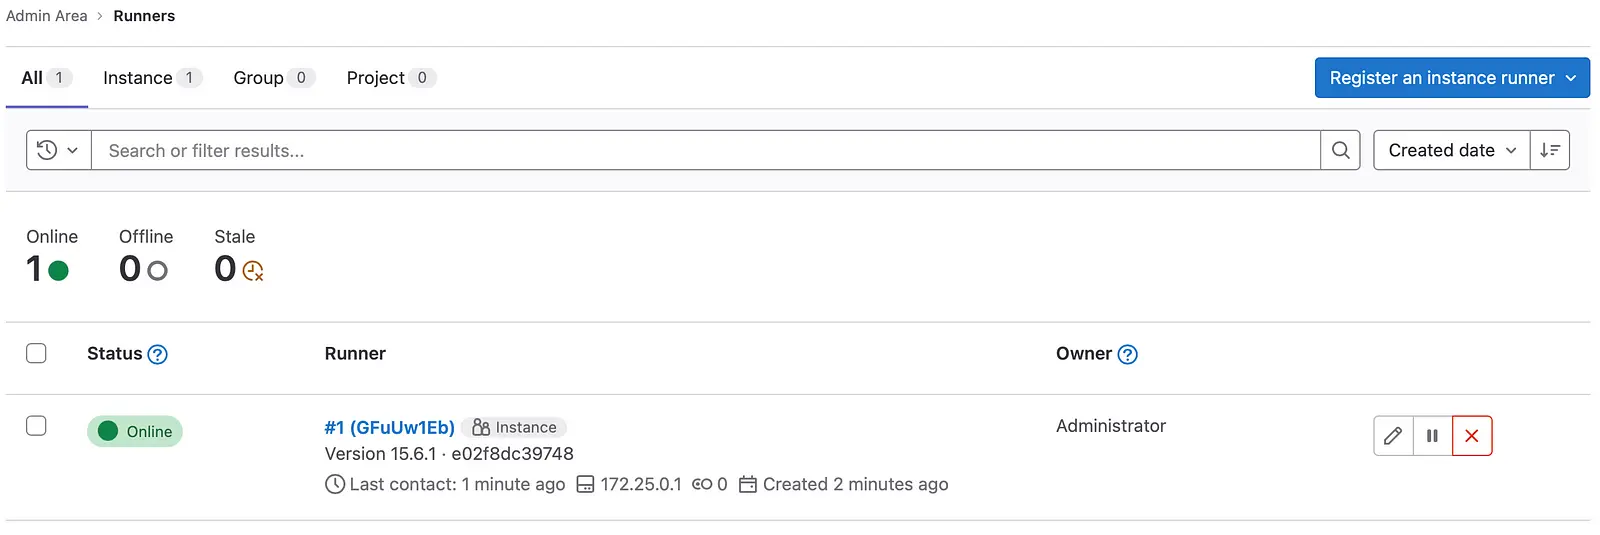
When everything is ready, you should see the following on the GitLab web interface.

You can start writing your own GitLab pipelines for dockerize, testing, building and deployment. Have fun!
Conclusion
In this blog post, we learned how to set up a GitLab server on-premise with Docker. All you need is a Docker Compose file and a few changes in the GitLab configuration file (gitlab.rb).
What can we do even better? We can encrypt the connections to the GitLab server by only allowing HTTPS. That is a very relevant aspect in production environments, although it was not part of this blog post.
We also created three GitLab runners and registered them in GitLab. That only required a Docker Compose file and a registration command on the server. The blog post shows a GitLab setup in a few minutes. Isn’t that cool? Now you are the master of your code.
💡 Do you enjoy our content and want to read super-detailed articles about data science topics? If so, be sure to check out our premium offer!
Thanks so much for reading. Have a great day!


