Set up a PostgreSQL database with Docker
Do you need a PostgreSQL database for your next project? Then, you are right here. In this article, we describe how to set up a PostgreSQL database with Docker and manage it with Adminer.

You will learn how to create a database table with python. After that, we will insert data in the database table. In this context, we examine the memory space of a table, a column and individual values. As a result, we calculate the overhead that a PostgreSQL database generates. So be curious!
The steps are the following:
- Technical requirements
- PostgreSQL and Adminer
- Set up a Docker stack
- Create a table and insert data with Python
- Conclusion
Technical requirements
You will need the following prerequisites:
- The latest version of Docker must be installed on your machine. If you do not have it installed yet, please follow the instructions.
- The latest version of Docker Compose must be installed on your machine. Please follow the instructions.
- Access to a bash (macOS, Linux or Windows).
PostgreSQL and Adminer
In this section, we look at the two applications that we will launch in a Docker stack.
PostgreSQL
PostgreSQL is a free and open-source relational database management system. It has been actively developed for over 35 years and has a good reputation for reliability, the robustness of features and performance. The database is available for some operating systems such as macOS, Windows or Linux.
Adminer
Adminer is a tool for managing databases. It supports various databases such as PostgreSQL, MariaDB, and MySQL. Adminer is a small-sized application focused on security, usability, performance and functionality. Adminer is very easy to use. That’s why we use it in this post.
Set up a Docker stack
First, you should check that you have Docker installed correctly. Enter the following command in a terminal of your choice:
docker --version

# Example output: $ Docker version 20.10.22
If the installation is correct, you can see the Docker version (Maybe you already have a newer Docker version). You can check the same for your Docker Compose installation.
docker-compose --version
# Example output: $ Docker Compose version v2.15.1
Everything is okay. The Docker installation is correct.
Next, we look at the Docker Compose file. Please create a file with the name docker-compose.yml. Add the following content to the file.
version: '3.8'

services:
  db:
    image: postgres:14.3
    container_name: postgres
    restart: always
    environment:
      POSTGRES_PASSWORD: test
    ports:
      - 5432:5432
    deploy:
        resources:
            limits:
              cpus: "2"
              memory: 1GB
            reservations:
              cpus: "2"
              memory: 1GB
  adminer:
    image: adminer:4.8.1
    container_name: adminer
    restart: always
    ports:
      - 8077:8080
Let’s take a closer look at the code lines. First, we define the Docker Compose file format version, here 3.8. Then we define the two services, db and adminer. The following describes the configurations for PostgreSQL db:
image: We use the Docker Imagepostgres:14.3from DockerHub.container_name: Here we can specify the Docker container name.restart: The Docker container should always restart.environment: We put the password into the container as an environment variable.ports: This field sets the port of the database. On the left side is the port that is available to the outside. The port on the right side specifies the port within the Docker container.deploy: Here we can specify the resources that the database is allowed to use. We set a limit for the CPU and the memory. We indicate the reserved resources for the container. You can change this accordingly for your use case.
Next, we look at the service adminer:
image: We use the Docker Imageadminer:4.8.1from DockerHub.container_name: We call our Docker containeradminer.restart: The Docker container should always restart.ports: This field sets the port. The left port is available to the outside, and the port on the right side specifies the port within the Docker container. We use different ports here because we already have another Adminer running on our host system in another stack. Fortunately, Docker is very flexible.
Now we understand what our Docker stack does. Great!
Next, we start our services and test the functionality. Enter the following command in a terminal of your choice:
docker compose up -d
The flag -d means that the container is running as a daemon. In this mode, the terminal does not output any logs.
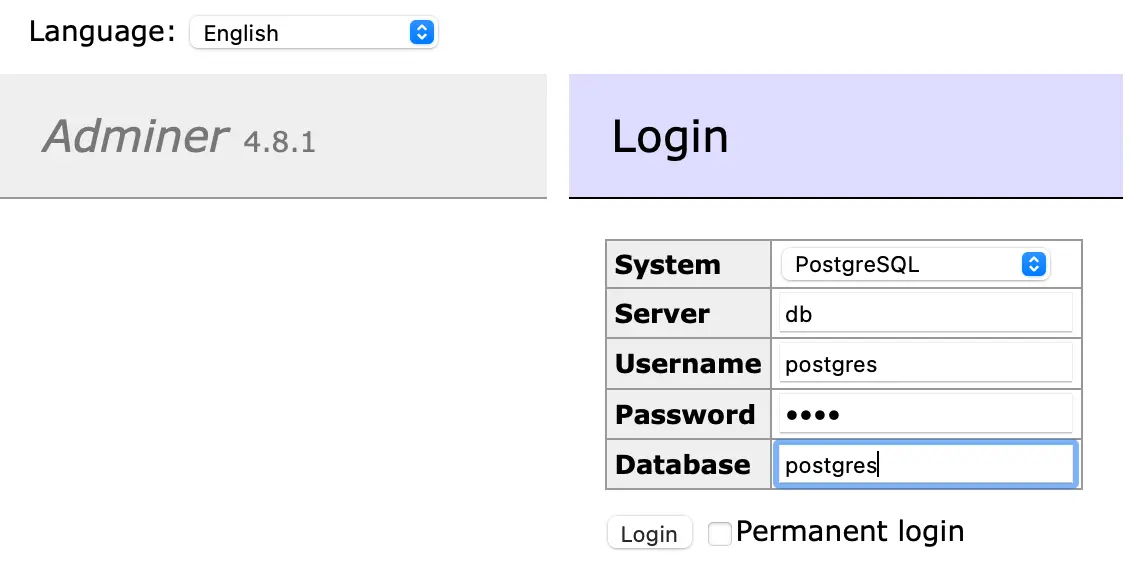
Now the services are started, and you can use them. First, open the Adminer user interface. Enter the following into a web browser of your choice: http://localhost:8077/. Now you should see the user interface. Set the following settings and click the login button.

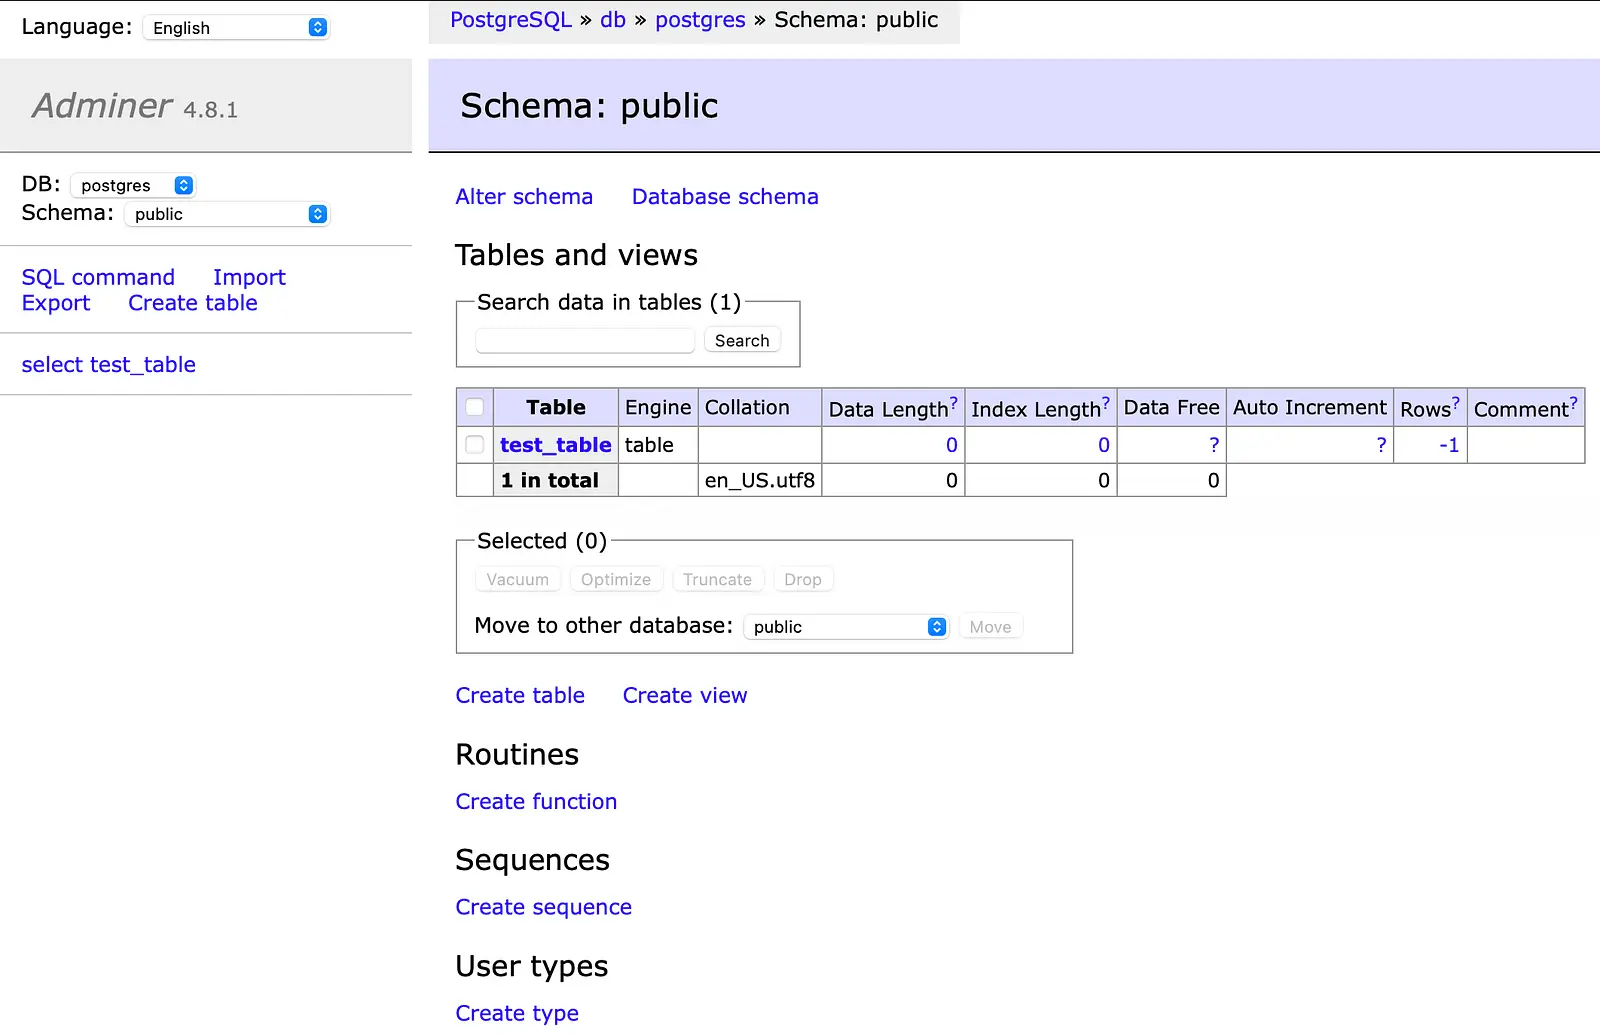
The Adminer user interface appears. No tables have been created in the database yet. Let’s create a table.
Create a table and insert data with Python
In this section, we create a table using Python.
First, we create a Python virtual environment. You can use conda for this. If you do not have conda installed, follow the instructions on the conda website. Then enter the following into the terminal.
conda create -n postgres python=3.9.12
conda activate postgres
This command creates a Python virtual environment called postgres. Now we need to install an additional Python library.
pip install psycopg2-binary==2.9.5
The library psycopg2 is a PostgreSQL database adapter for Python. We use the library to communicate with the database. Next, we create a table in the database. You can use the following Python code.
import psycopg2

# connect to database
conn = psycopg2.connect(
    host="localhost",
    database="postgres",
    user="postgres",
    password="test",
    port="5432")

cur = conn.cursor()   # create a cursor
cur.execute('SELECT version()')   # execute a statement

# display the PostgreSQL database server version
db_version = cur.fetchone()
print('PostgreSQL database version:')
print(db_version)
cur.close()   # close cursor

def create_table():
    cur = conn.cursor()

    # create table
    create_table_commands = (
        """
            CREATE TABLE test_table (
                col_1 float NOT NULL,
                col_2 float,
                col_3 float,
                col_4 float,
                col_5 float,
                col_6 float,
                col_7 float
            )
        """)
    cur.execute(create_table_commands)
    cur.close()
    conn.commit() # make the changes persistent

create_table()
The code above first connects to the database. Afterwards, the PostgreSQL database version is output. Then the function create_table() is called. In this function, an SQL statement creates a new test table.
Create a file called create_table.py and execute the following command:
python create_table.py
When everything has gone through successfully, please go back to the Adminer user interface. Then reload the page once. You should see the following user interface.

Great. The table creation was successful. Next, we fill the table with data. You can use the following code for this.
import sys
import psycopg2
import random

conn = psycopg2.connect(
    host="localhost",
    database="postgres",
    user="postgres",
    password="test",
    port="5432")

def get_float_decimal(float_decimal):
    return round(random.uniform(1,100), float_decimal)

def save_to_db():
    cur = conn.cursor()

    insert_commands = (
        """
            INSERT INTO test_table (
                col_1,
                col_2,
                col_3,
                col_4,
                col_5,
                col_6,
                col_7
            )
            VALUES (%s, %s, %s, %s, %s, %s, %s)
        """
        )

    my_data = []
    for row in range(1000):
        float_decimal = 10
        fill_values = (get_float_decimal(float_decimal),
                        get_float_decimal(float_decimal),
                        get_float_decimal(float_decimal),
                        get_float_decimal(float_decimal),
                        get_float_decimal(float_decimal),
                        get_float_decimal(float_decimal),
                        get_float_decimal(float_decimal))
        my_data.append(tuple(fill_values))

    cur.executemany(insert_commands, my_data)
    cur.close()
    conn.commit()

def fill_database():
    number_sim = int(sys.argv[1])
    for x in range(number_sim):
        save_to_db()
    print("Insert data done!")

fill_database()
First, we create a database connection. Then we call the function fill_database(). When calling this script via the terminal, you can give an argument. This argument indicates the number of simulations in thousands. So we store number_sim times 1000 data points.
The save_to_db() function inserts the data into the database via the SQL insert command. Each batch contains 1000 data points. The function get_float_decimal() generates float numbers between 1 and 100 with ten decimal places.
Create a file called fill_database.py and insert the code above. Then run the following command in the terminal:
python fill_database.py 10
If you give 10 as an argument in the terminal, then 10 * 1000 = 10,000 values are inserted into the database.
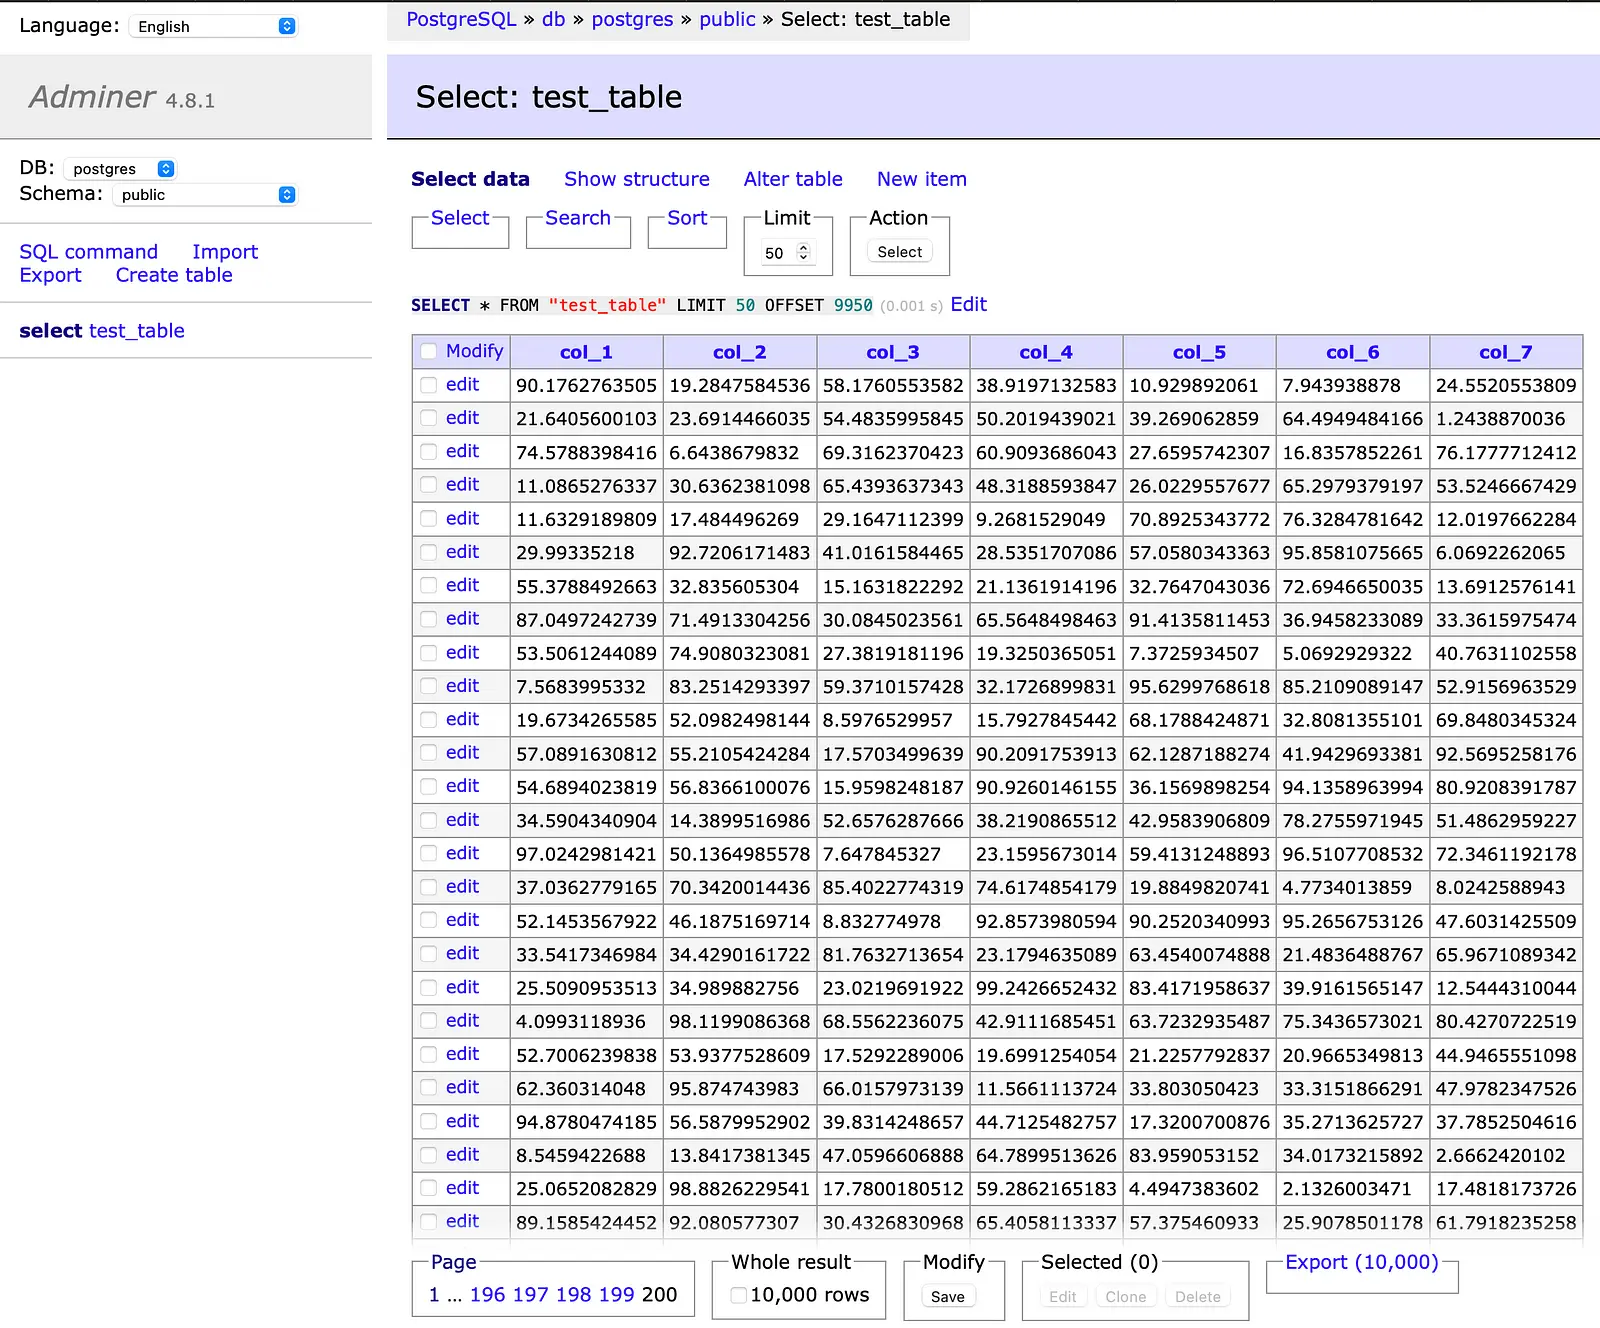
In the Adminer user interface, you can view the data by clicking select on the left. The user interface shows the individual values (see the following picture).

Next, let’s examine the table and the columns in terms of size. The following SQL statement calculates some interesting values about the database.
select
    -- total size of bytes used to store column
    sum(pg_column_size("col_1")) as total_size,
    -- average size for a value
    avg(pg_column_size("col_1")) as average_size,
    -- percentage of the column in the whole table
    sum(pg_column_size("col_1")) * 100.0 / pg_relation_size('test_table') as percentage,
    -- disk space used by the table
    pg_relation_size('test_table')
from test_table;
The total_size describes the size of the column col_1. The second statement calculates the average size of a value in the table. Next, we calculate how much memory space the table takes up relative to the database. That gives us an idea of how much overhead the PostgreSQL database has.
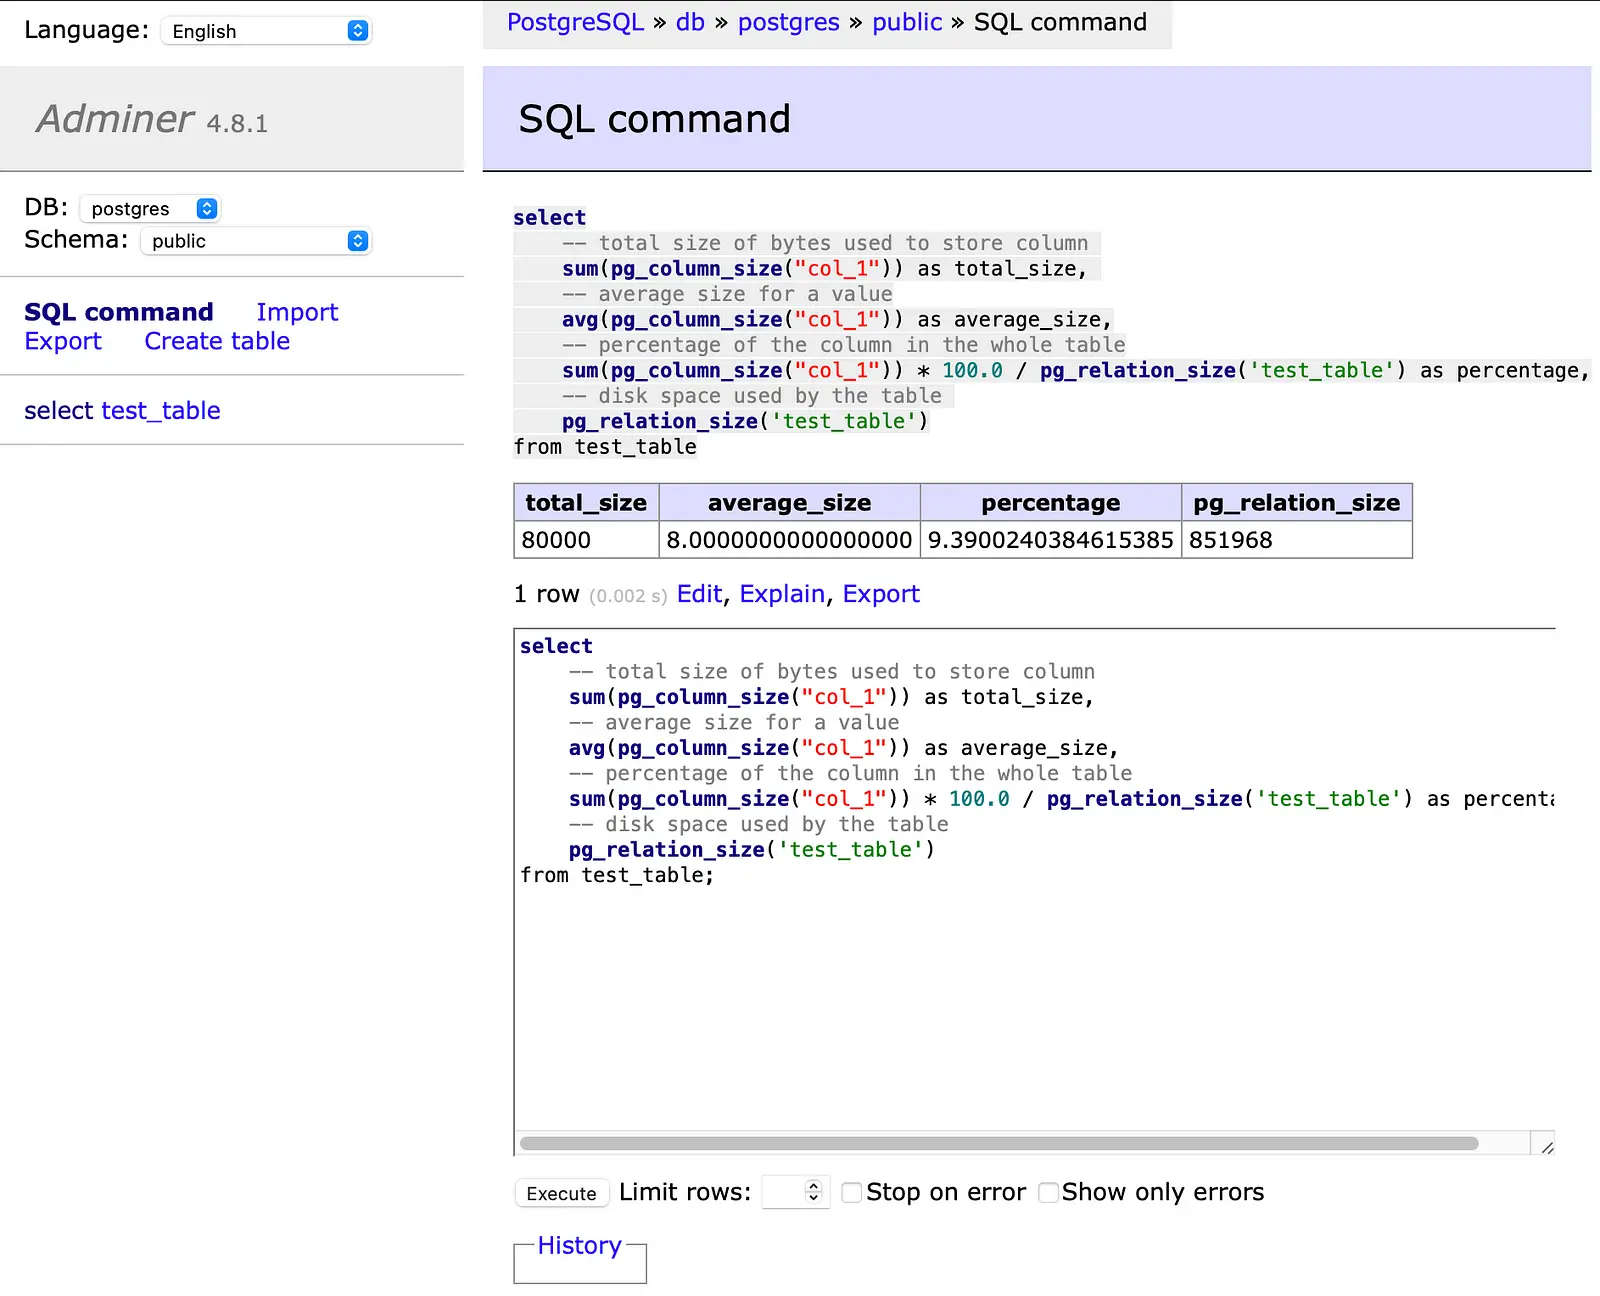
In the last statement, we calculate the database size (without the table size). You can easily execute SQL statements in the Adminer. The following picture shows the results of the calculations.

The results of the calculations are bytes. The column col_1 has a size of 80,000 bytes (80 kilobytes). Next, we calculate the average size of a value in column col_1. As expected, we get a size of 8 bytes (64-bit) because all values are 64-bit float values.
In addition, the table column takes up 9.39 per cent of the total memory requirements of the database. The database size (without table) is 851,968 bytes (851.968 kilobytes). We are still interested in how much memory space the entire table takes up. We can calculate it as follows: 7 x 80 kilobytes = 560 kilobytes. We can calculate it this way because all the columns have the same size. Finally, we look at the overhead of the database by calculating the following:
851.968 kilobyte - 560 kilobyte = 291.968 kilobyte
The result shows that the database has a size of 291.968 kilobytes. The calculations have shown that it is relatively easy to use SQL to examine the database in terms of memory requirements.
Conclusion
In this article, you have learned how to set up a PostgreSQL database and an Adminer with Docker. We also used Python to create a table in the database and insert data. Finally, we examined the table and the database in terms of memory requirements and found out what the size of the database is without the table. The article shows how to create and use a PostgreSQL database.
💡 Do you enjoy our content and want to read super-detailed guides about AI Engineering? If so, be sure to check out our premium offer!


